

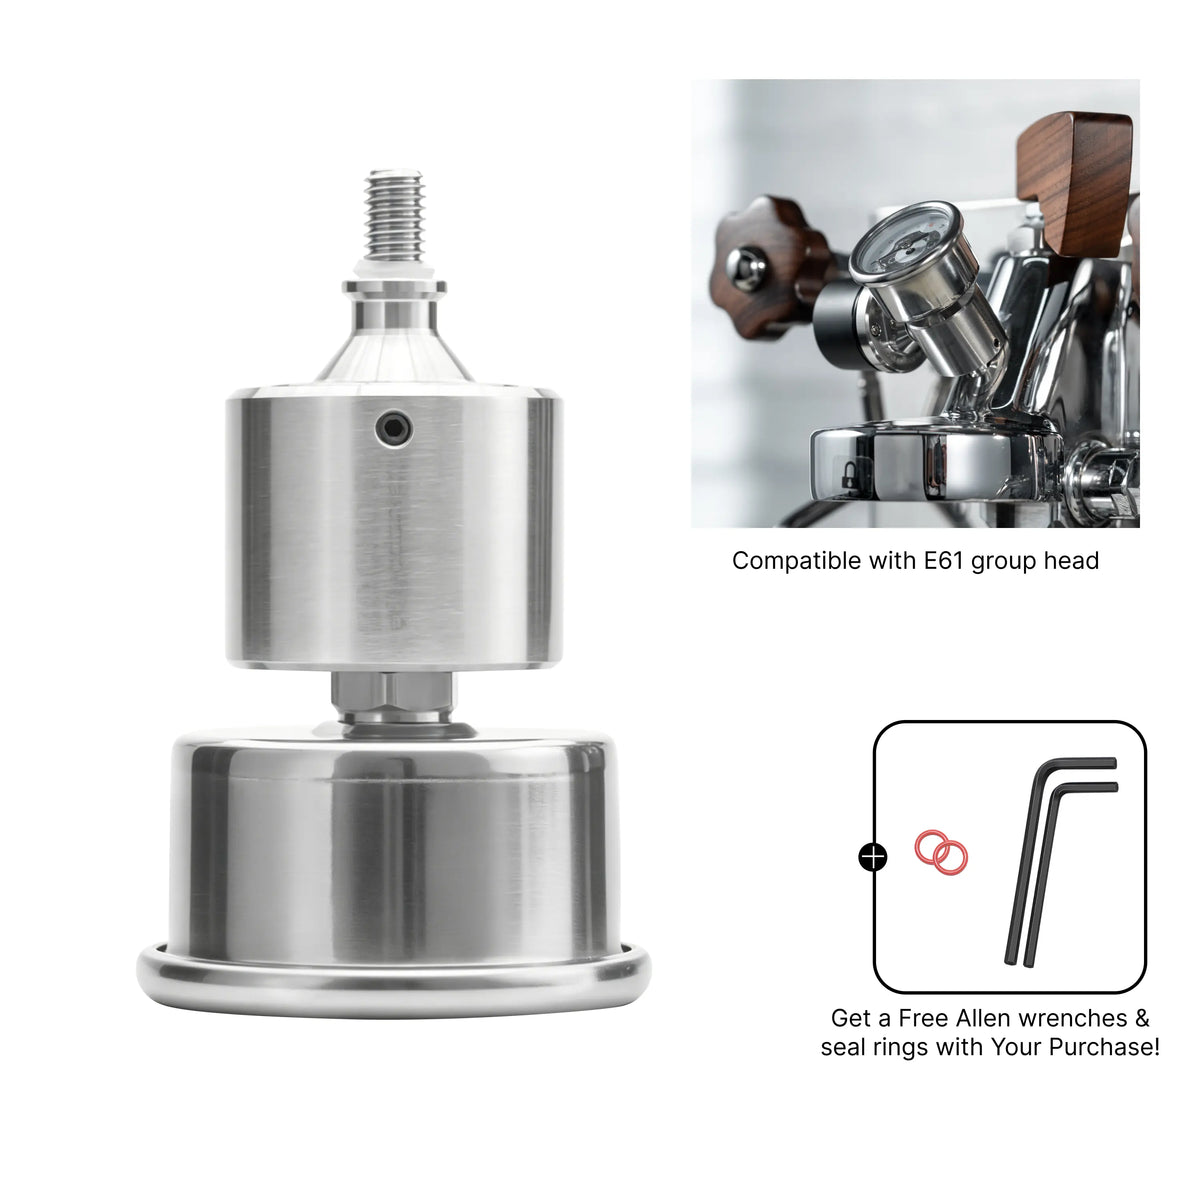
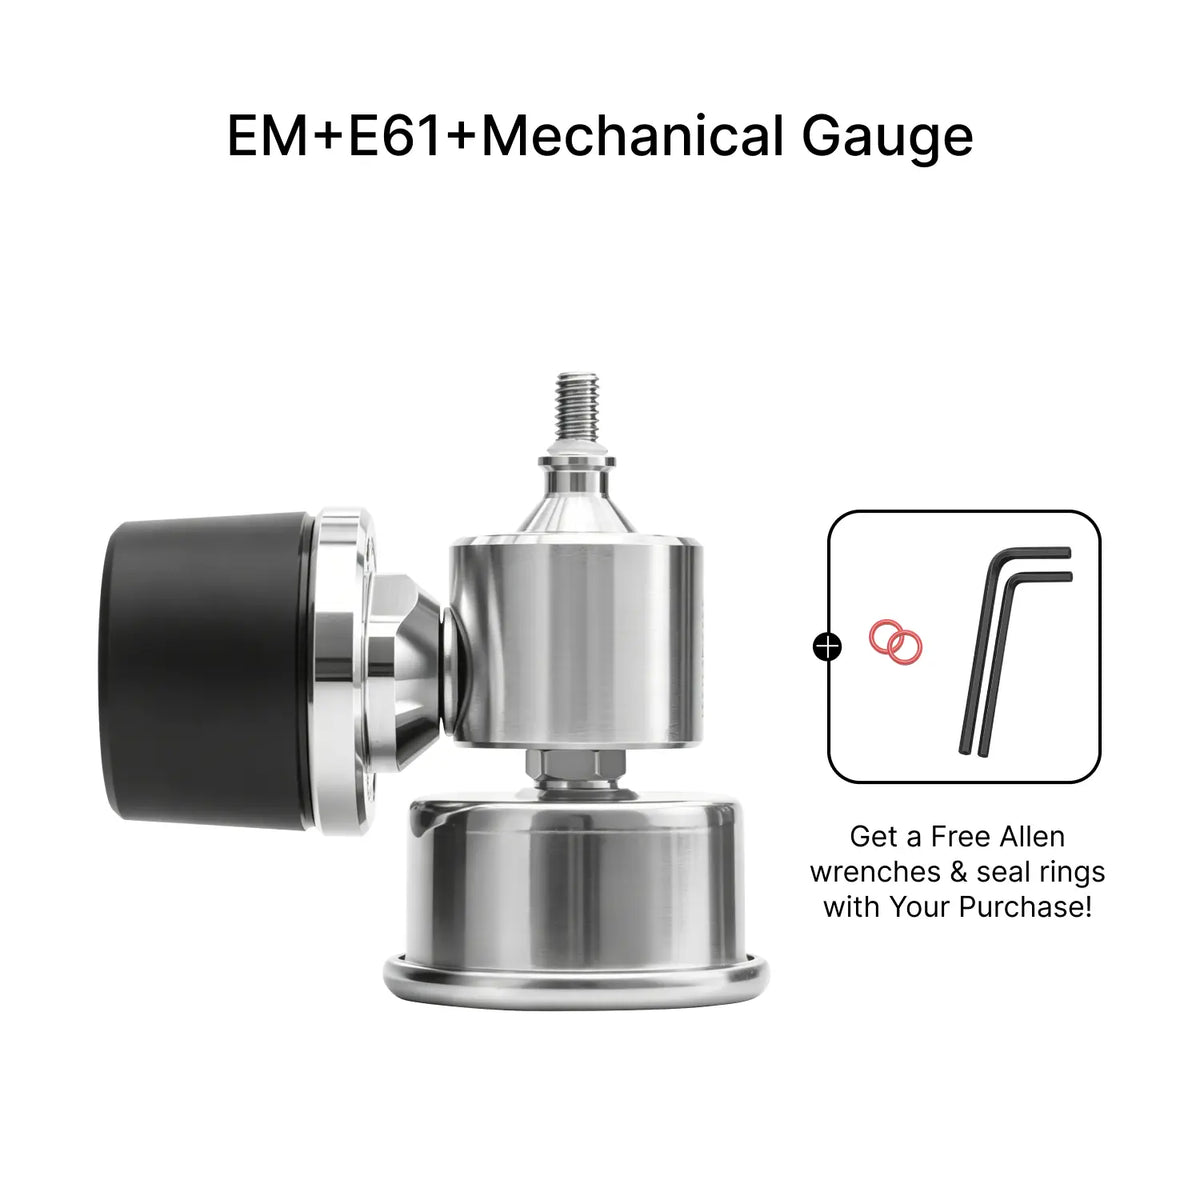
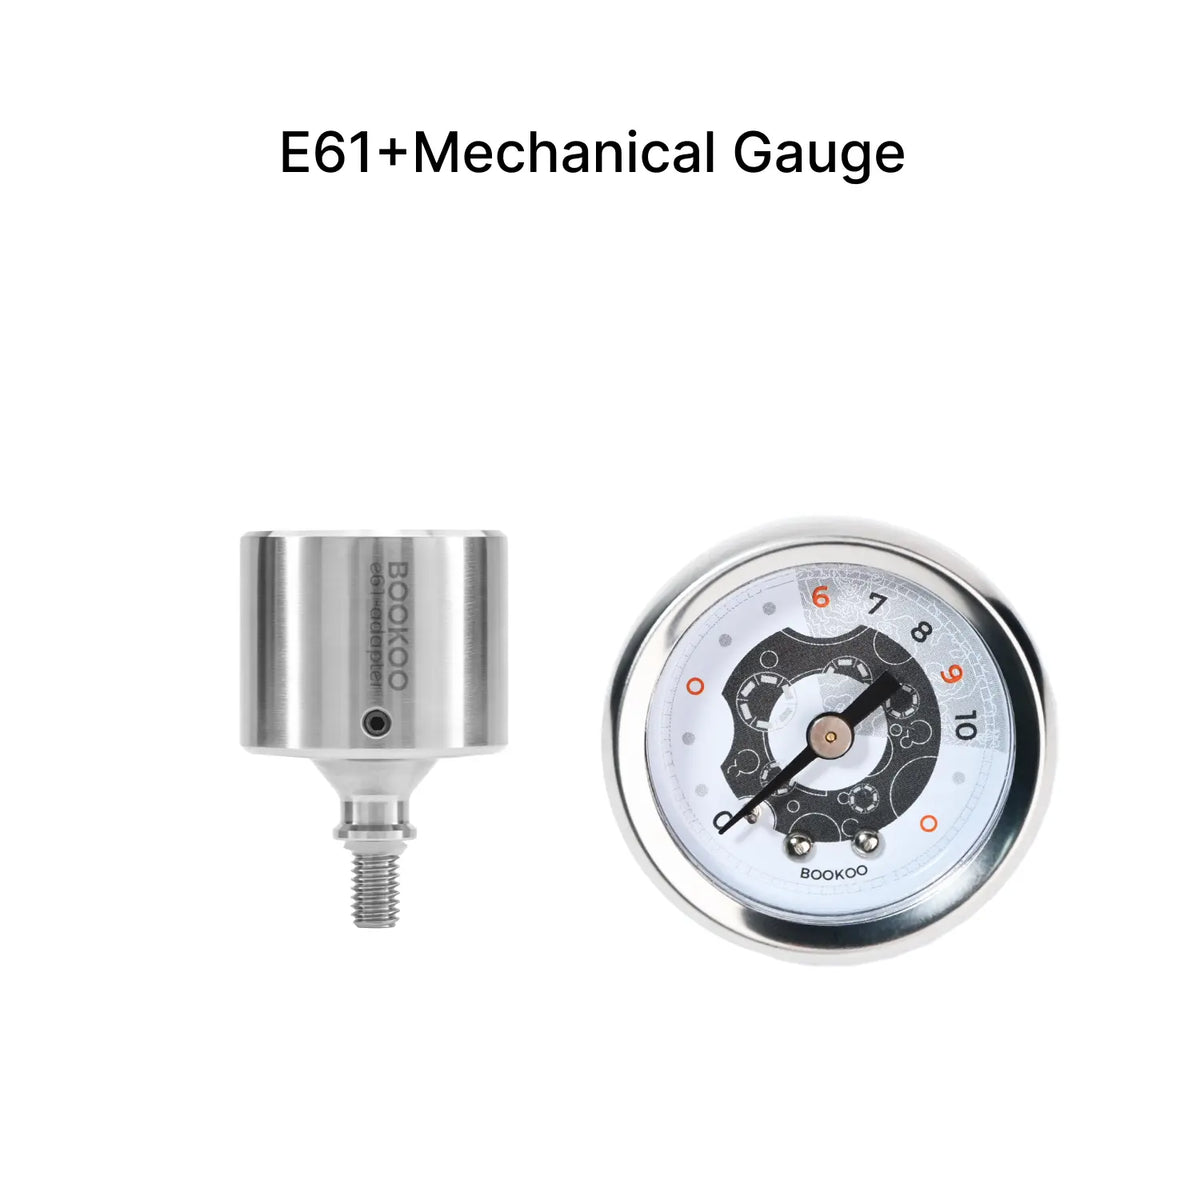
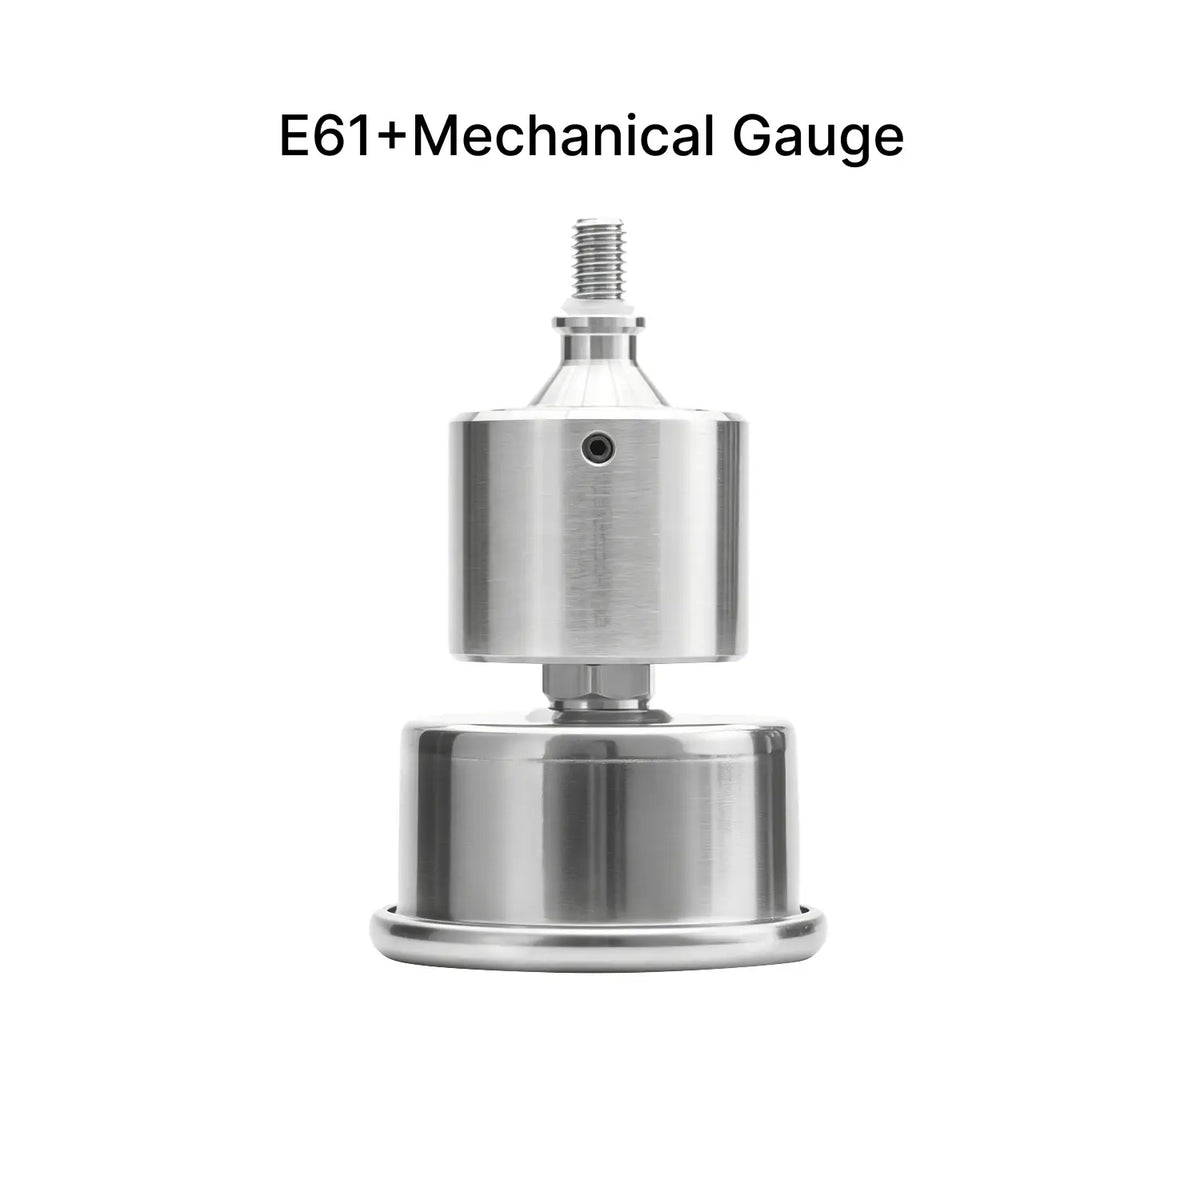
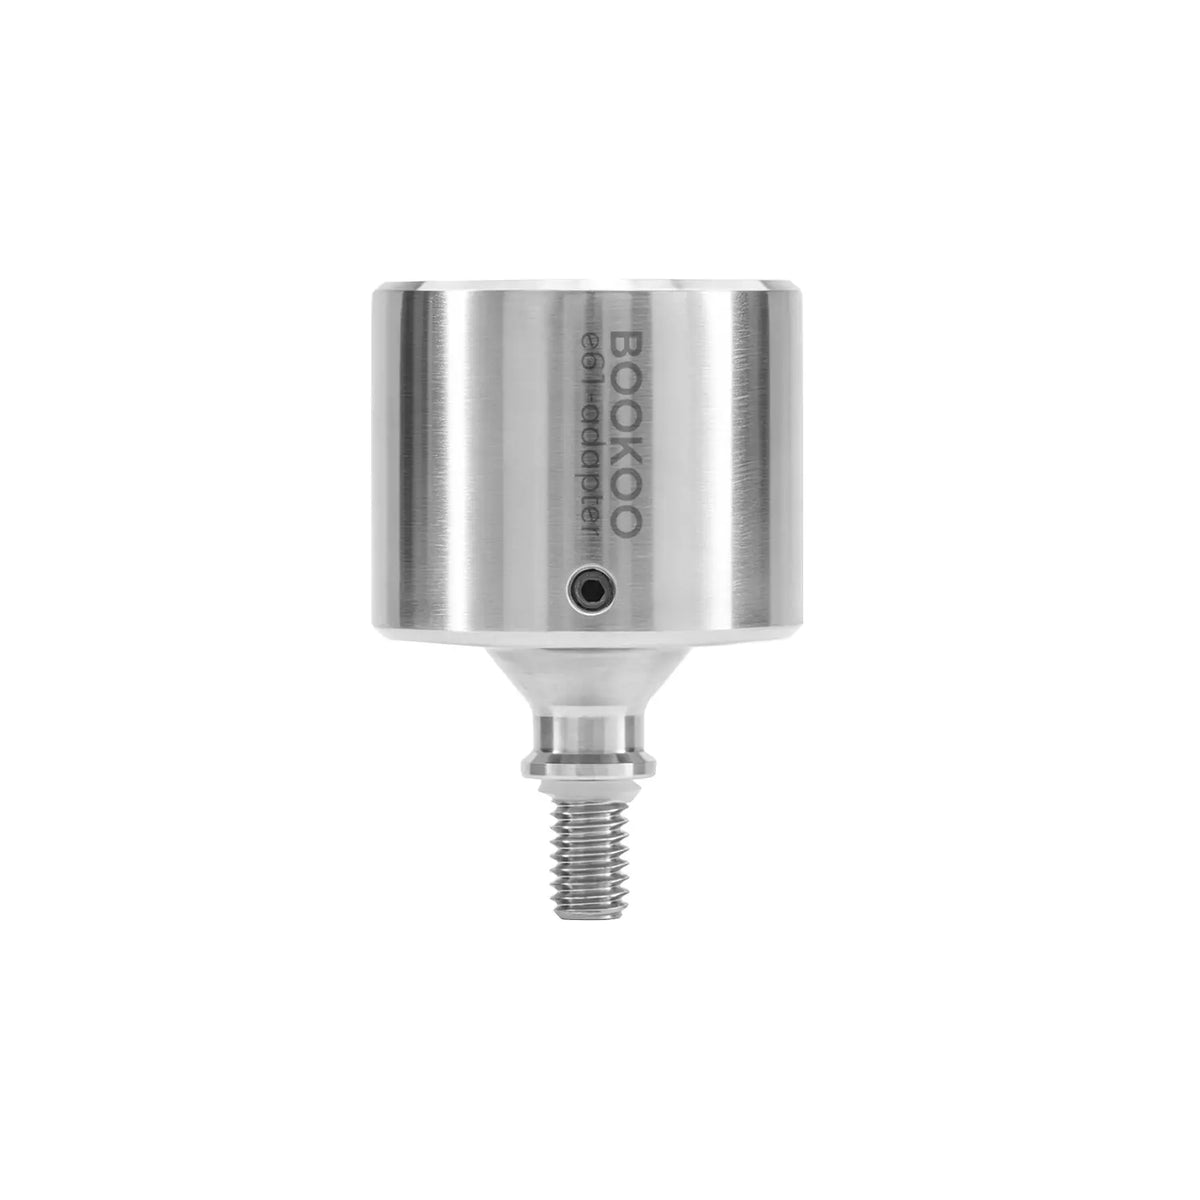
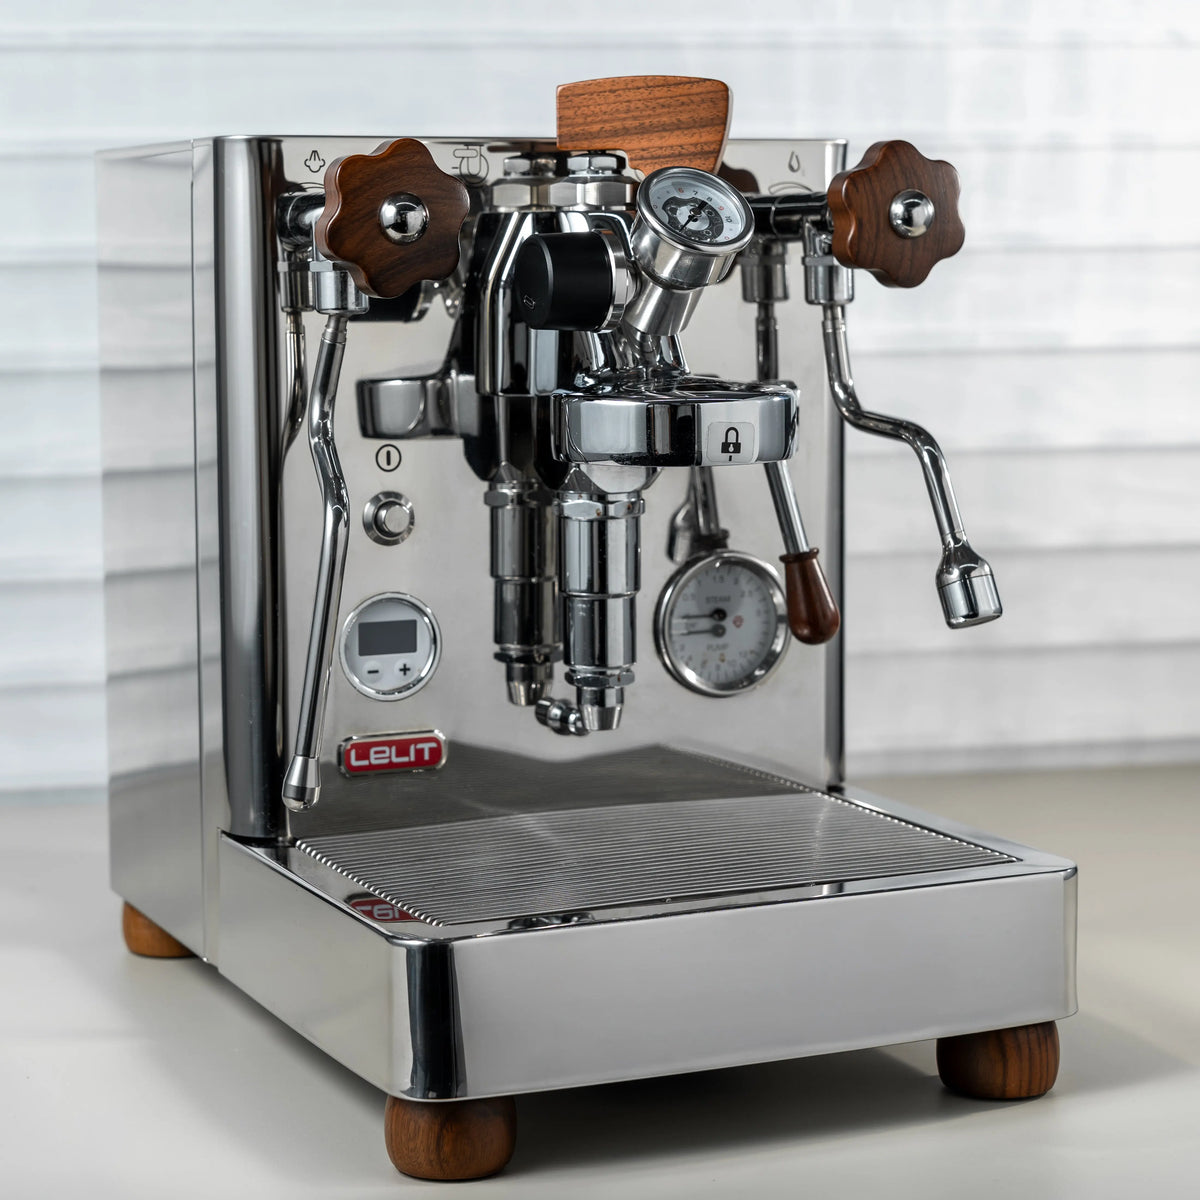
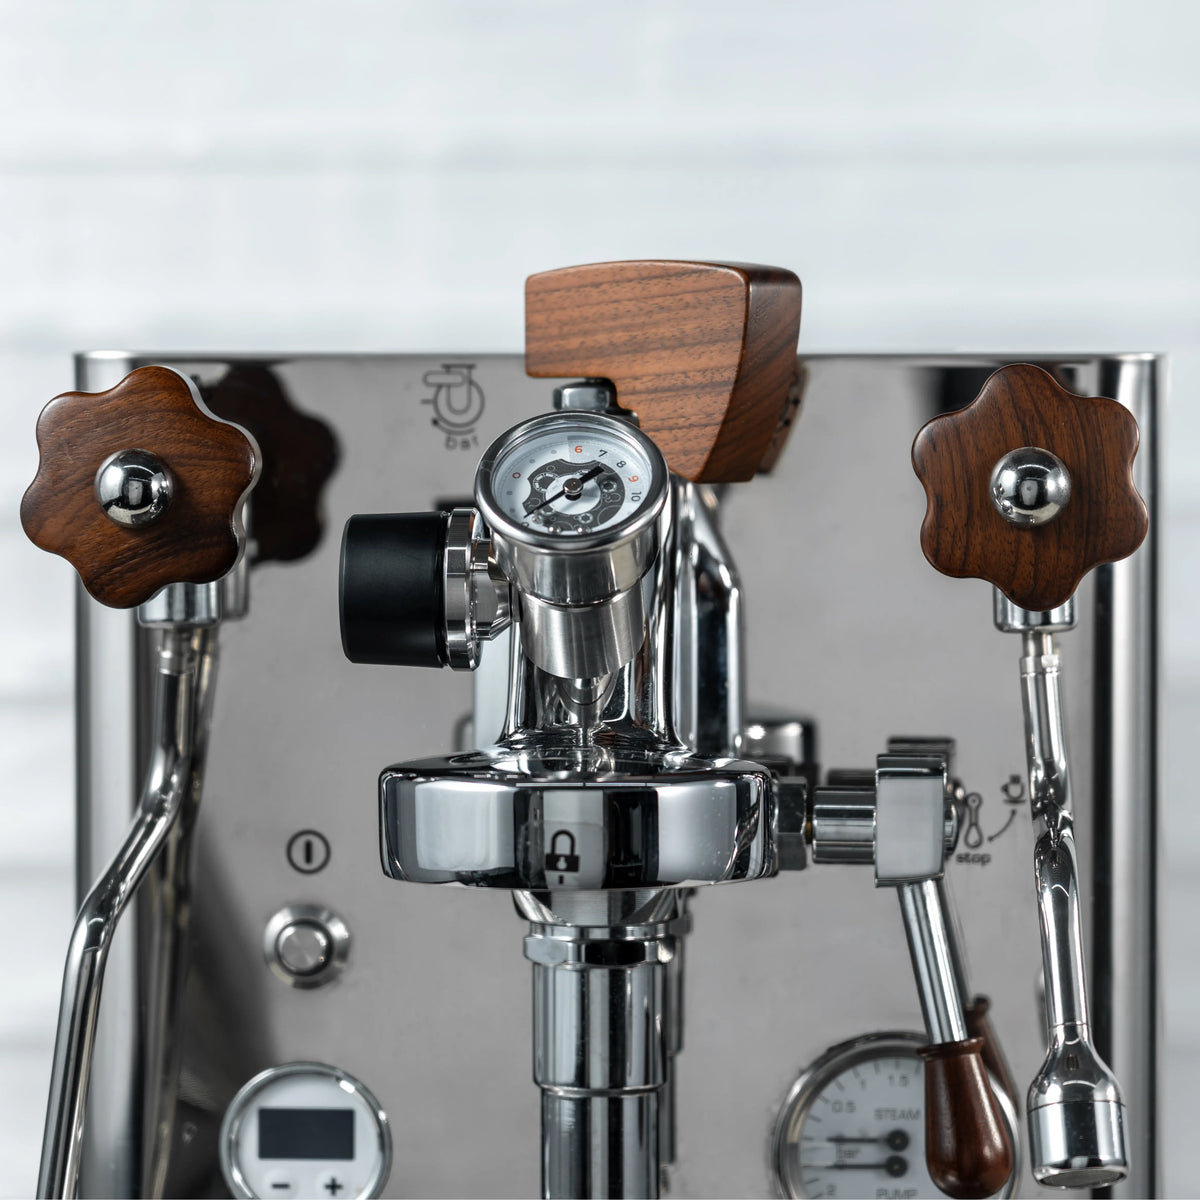
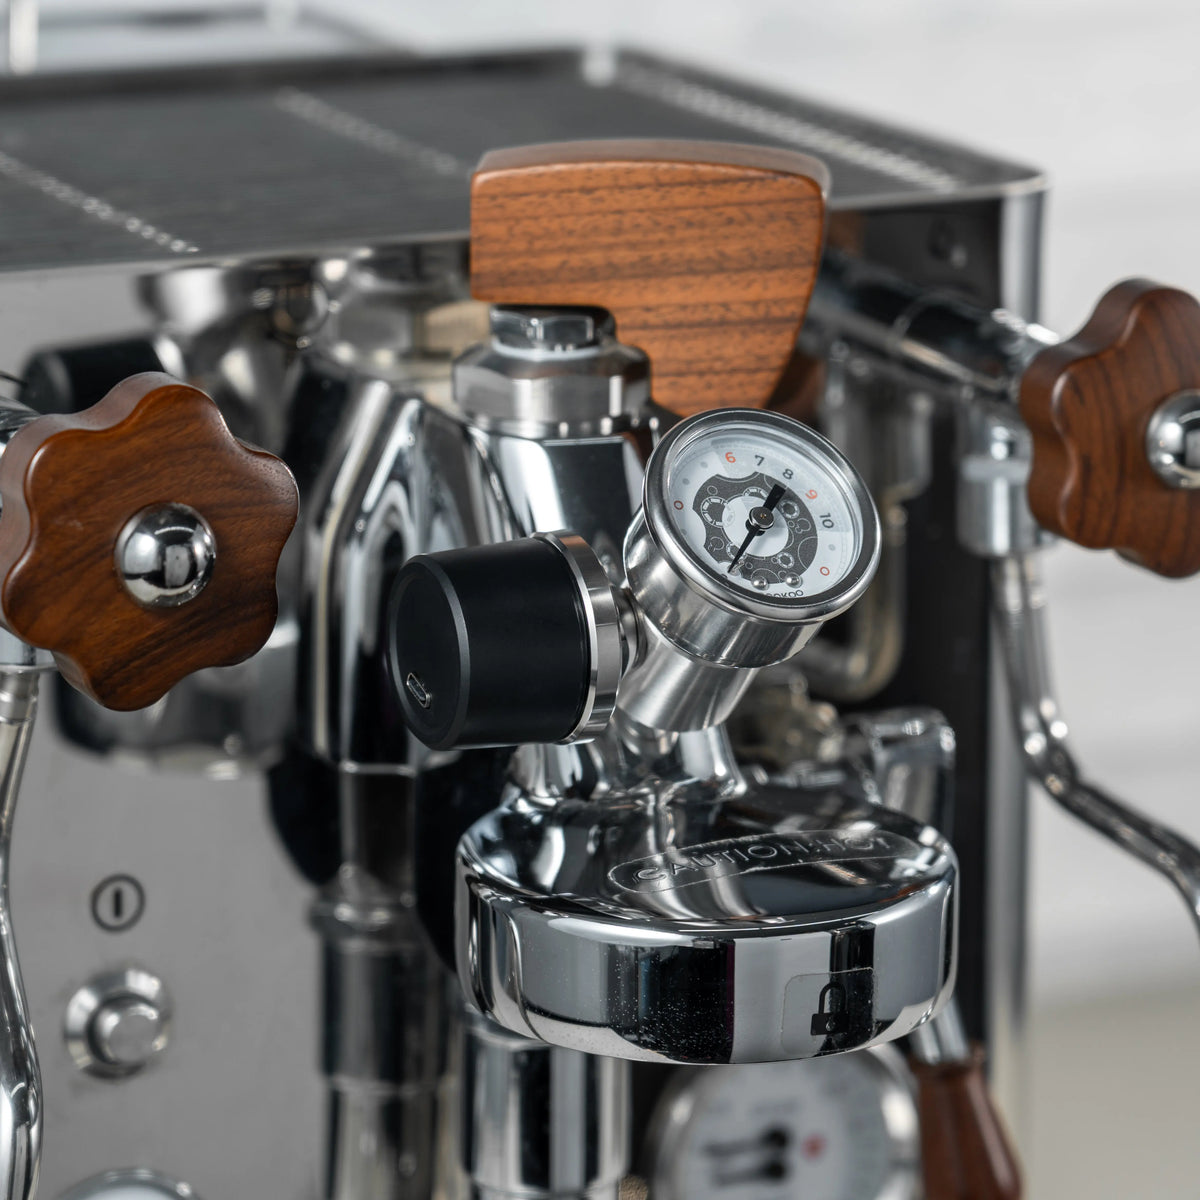
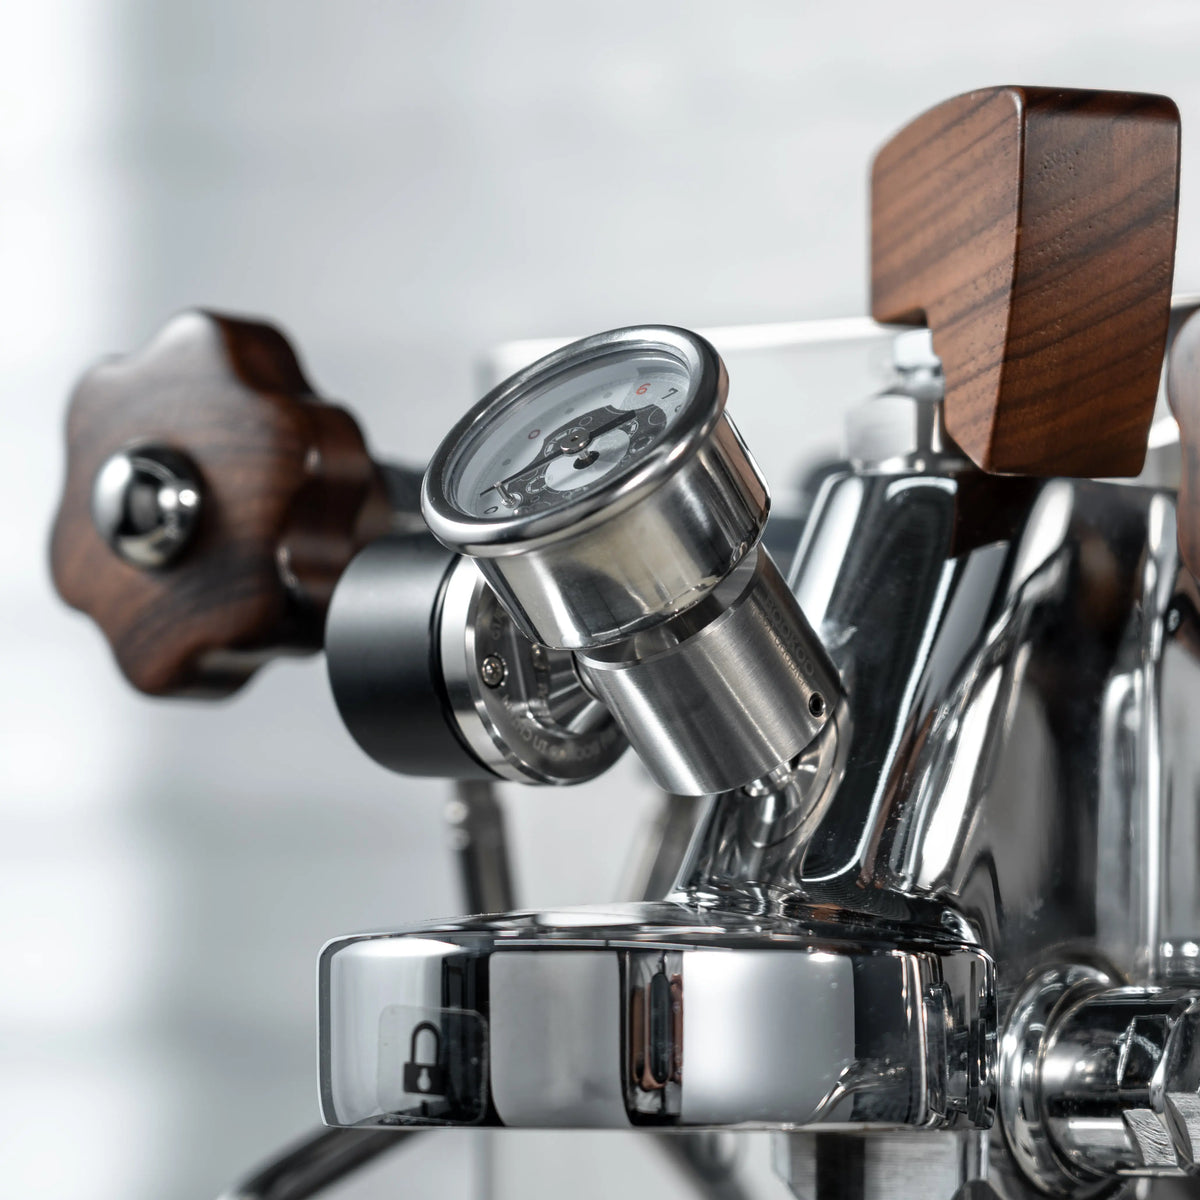
BOOKOO E61 Tee&Gauge With E61 group heads (M6 thread)
Pairs well with
BOOKOO E61 Tee&Gauge With E61 group heads (M6 thread)
The E61 Tee is a 3-way connector designed to create a parallel connection on E61 espresso machines, allowing the original mechanical gauge and the BOOKOO EM Pressure Sensor to operate simultaneously without affecting machine integrity.
Built for real-world usability, the system features a precision-machined fit for secur sealing, easy installation, and reliable pressure handling. Once installed, it ensures a stable, leak-free connection while preserving the original machine structure and delivering a more controlled, data-driven brewing experience from day one.
Together with a BOOKOO Themis smart scale, the system unlocks real-time pressure, weight, flow rate, and brew ratio tracking for a fully connected digital brewing experience.
⚠️ Installation Note
Lelit Bianca users: The original Bianca pressure gauge is not directly compatible with the BOOKOO E61 Tee & Gauge. A thin open-end wrench may be required to remove the stock gauge due to limited installation space.
Compatible Models
E61 grouphead espresso machines
(e.g., Rocket Appartamento HX, etc.)
Machine-End Thread
(Thread OD)
M6×1.0(E61 OEM Standard)
(6mm)
Sensor / Gauge Port
Dual G1/8 female ports
Tee Weight
~175g
Mechanical Gauge Weight
~55g
Operating Pressure (Recommended)
0–12 bar
Tee Material
304 Stainless Steel
Installation Method
100% Reversible.
Replaces OEM M6 plug;
no machine modification required.
BOOKOO Product Integration
BOOKOO EM Pressure Sensor
/Real-Time App Curve Monitoring
What's in the box(TBC)
E61 Tee, Mechanical Gauge,
Installation Tools


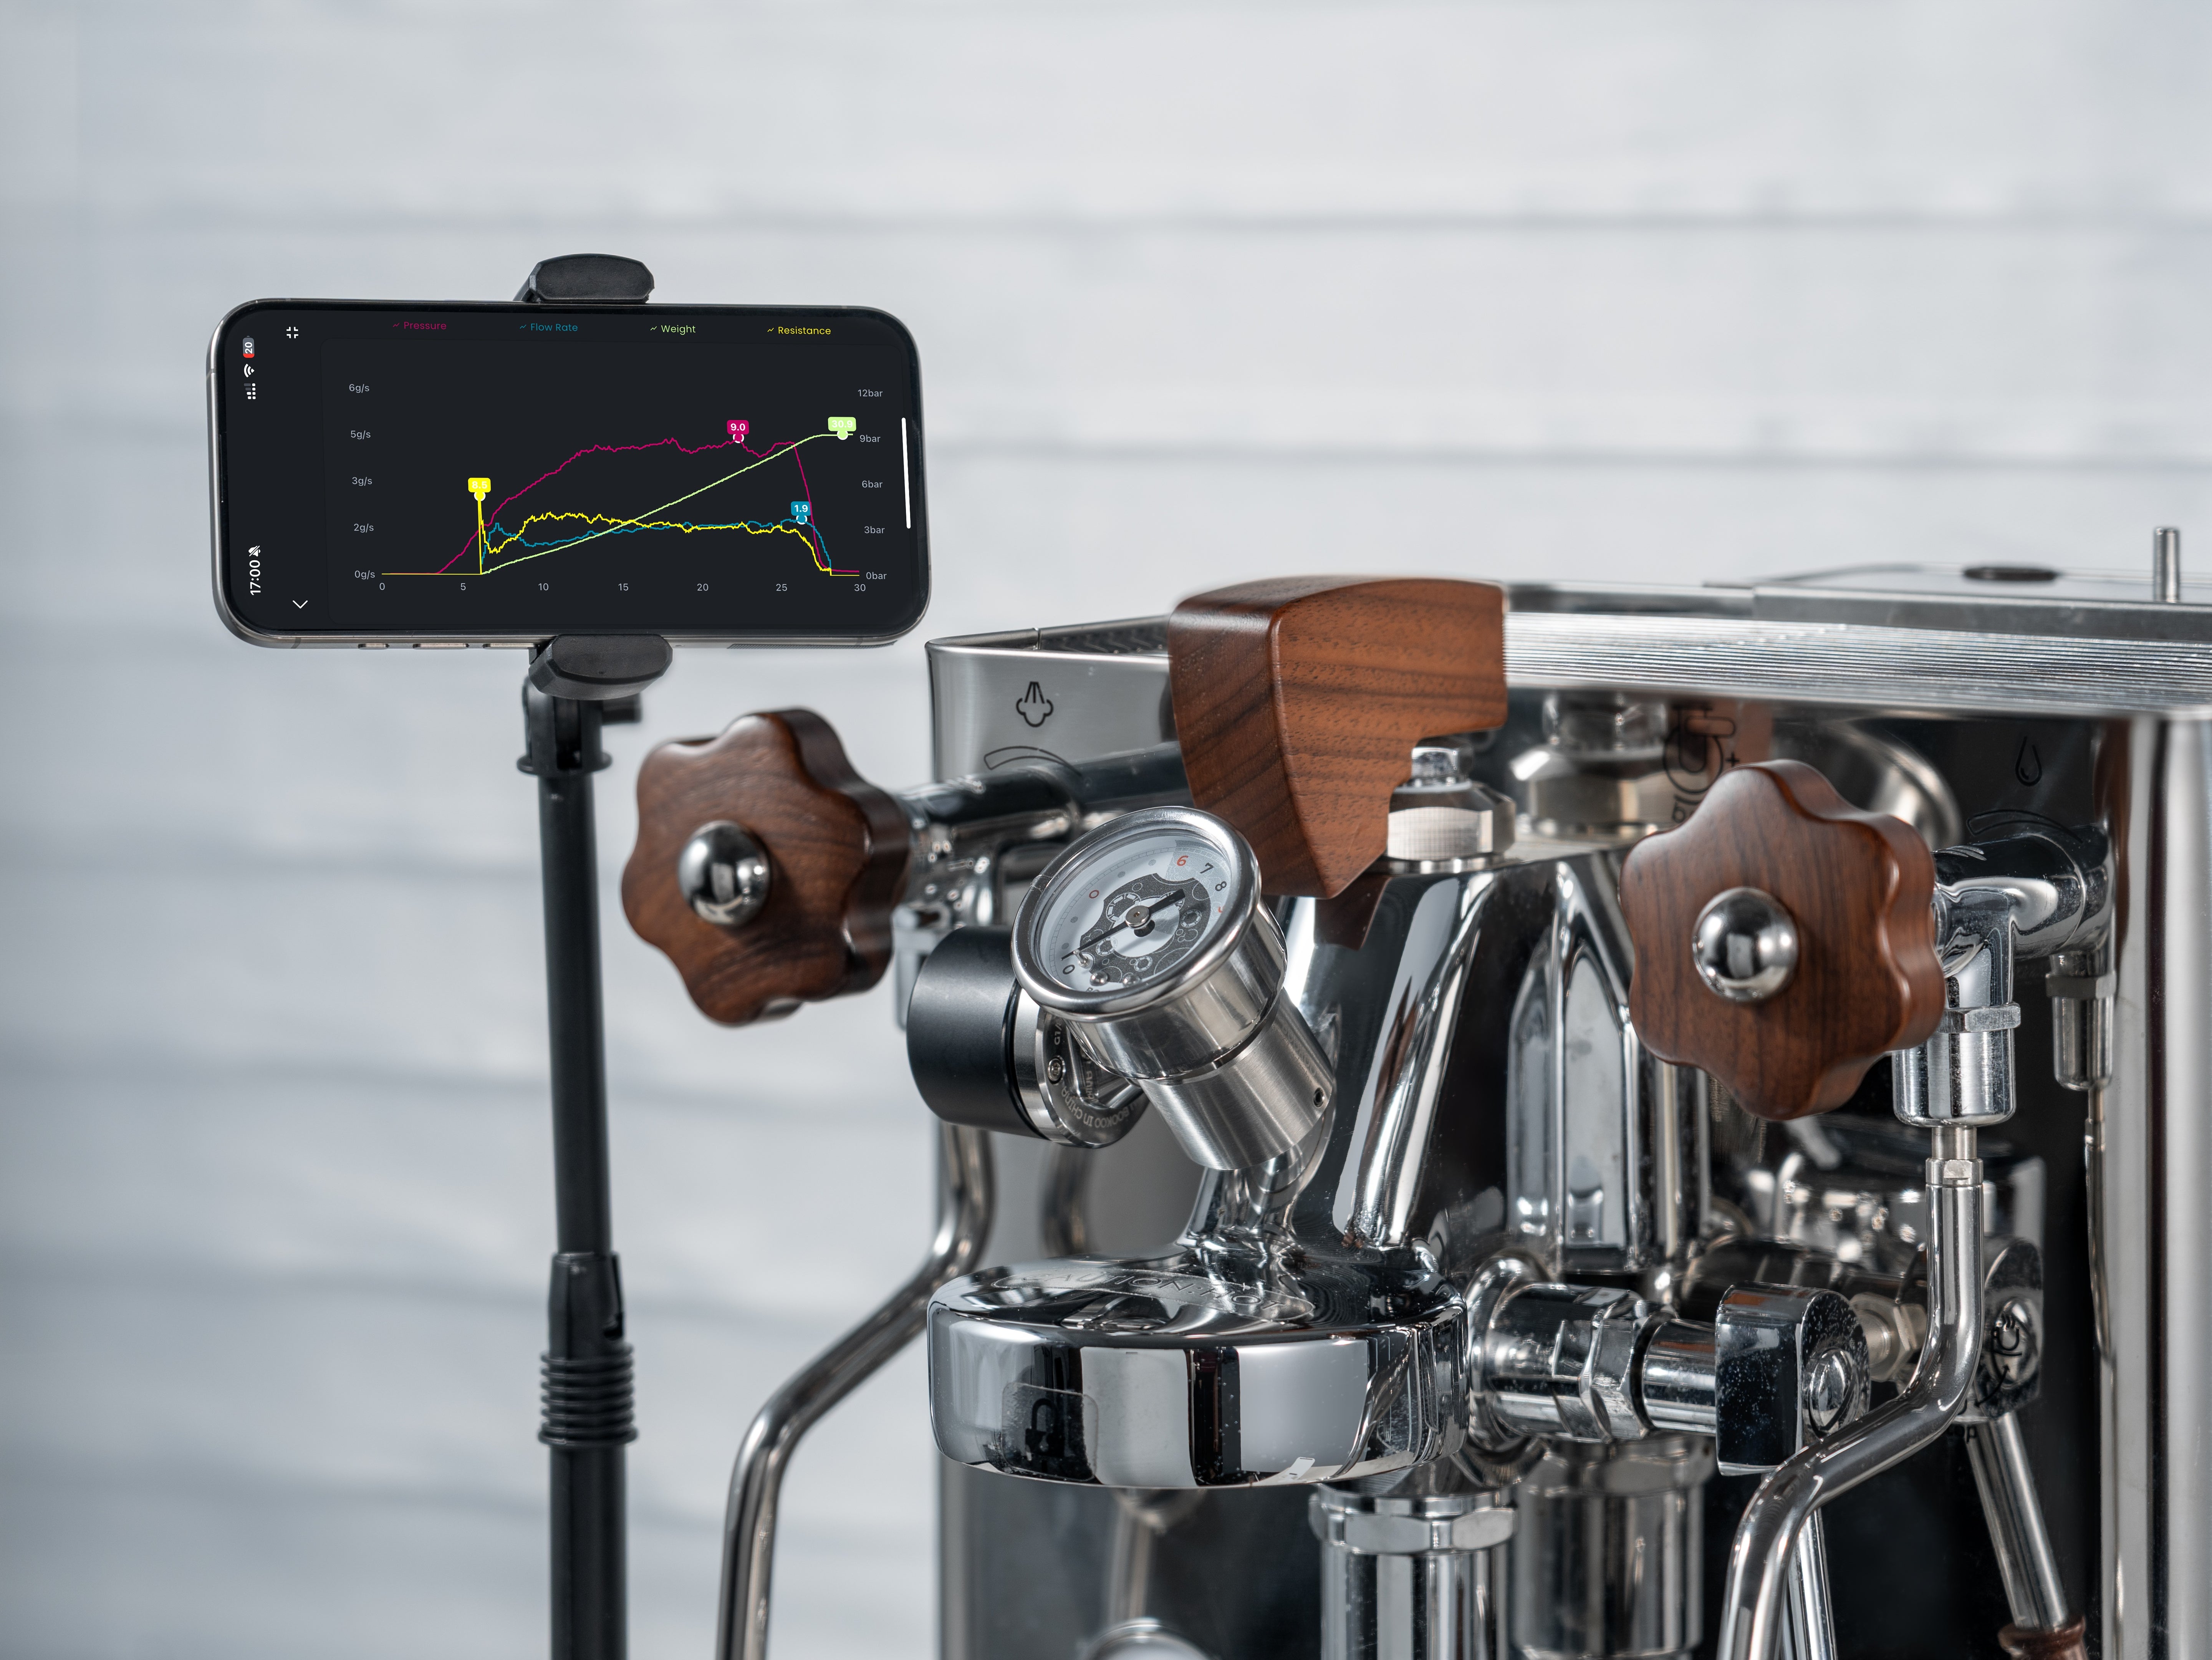
Installation Guide for machines with E61 group heads
This video shows how to install the BOOKOO E61 Tee&Gauge on an espresso machine with an E61 group head and connect it with the Espresso Monitor pressure sensor. It covers the splitter setup, mechanical gauge connection, and pressure sensor installation.
What's is the Box
Here are all the items included when you purchase the Tee&Gauge.


Specifications & Compatibility Guide

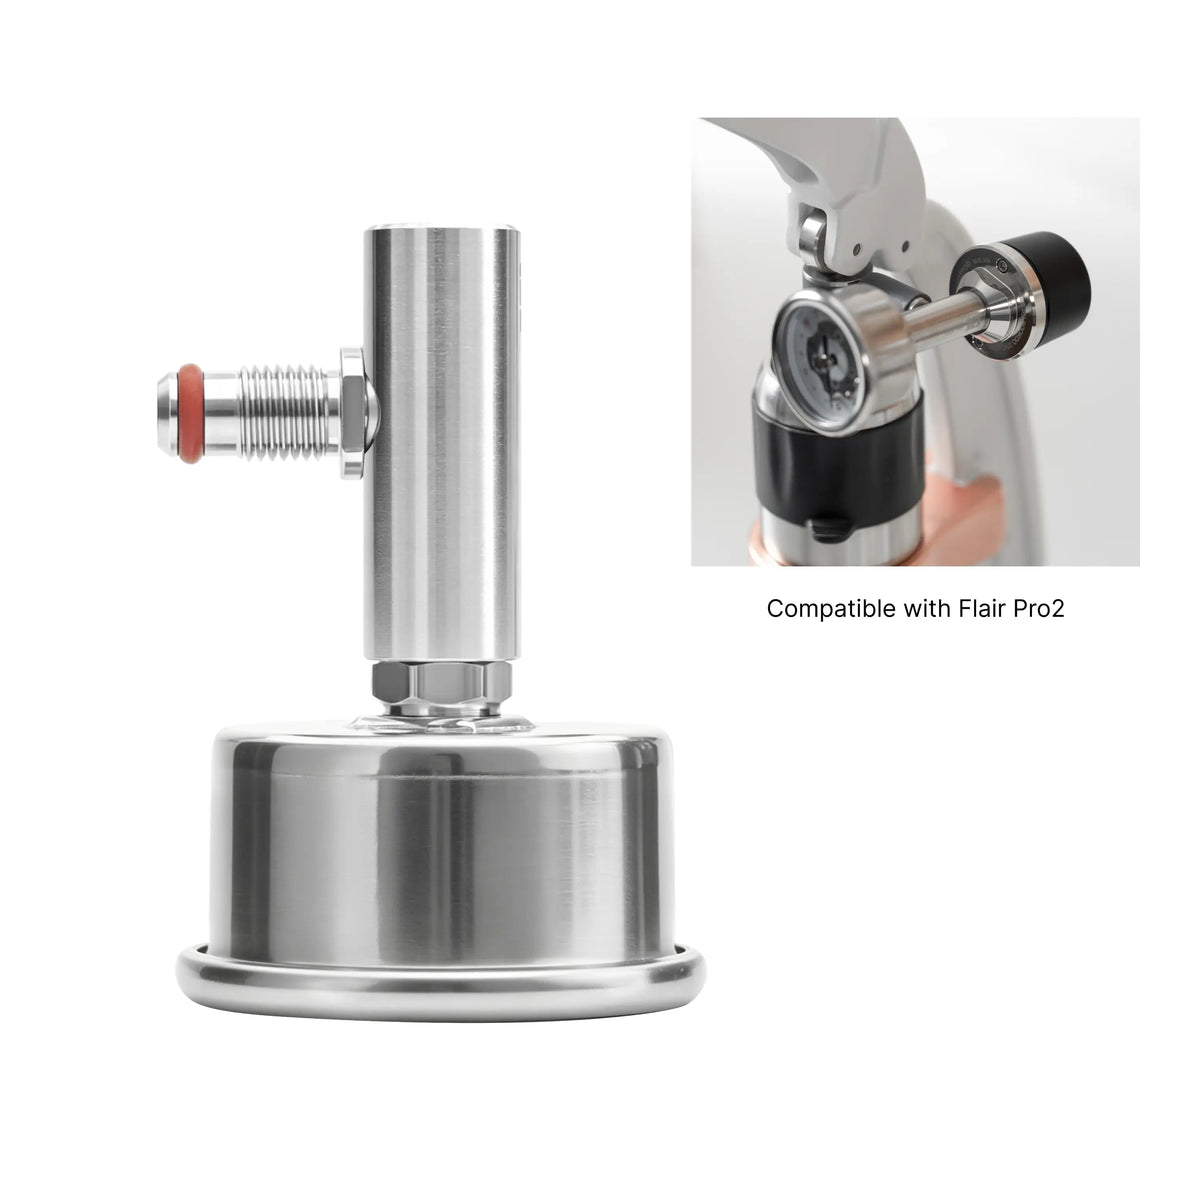

E61 grouphead espresso machines
(e.g., Rocket Appartamento HX, etc.)
Cafelat Robot manual lever espresso makers
Flair Pro 2 & other M9-port models
Flair 58 (all variants) & Flair 49 Pro
& Flair 2Go
M6×1.0(E61 OEM Standard)
( 6mm )
M5×1.0(Robot OEM Bleed Port Standard)
( 5mm )
M9(Flair Piston Port Standard)
( 9.72mm )
G1/8 female thread (Universal)
( 9mm )
Dual G1/8 female ports
Dual G1/8 female ports
Dual G1/8 female ports
Dual G1/8 female ports
~175g
~75g
~38g
~38g
~55g
~55g
~55g
~55g
0–12 bar
0–12 bar
0–12 bar
0–12 bar
304 Stainless Steel
304 Stainless Steel
304 Stainless Steel
304 Stainless Steel
100% Reversible.
Replaces OEM M6 plug;
no machine modification required.
100% Reversible.
Replaces OEM bleed port screw;
no machine modification required.
100% Reversible.
Replaces OEM piston rod;
no machine modification required.
100% Reversible.
Replaces OEM piston rod;
no machine modification required.
BOOKOO EM Pressure Sensor
/Real-Time App Curve Monitoring
BOOKOO EM Pressure Sensor
/Real-Time App Curve Monitoring
BOOKOO EM Pressure Sensor
/Real-Time App Curve Monitoring
BOOKOO EM Pressure Sensor
/Real-Time App Curve Monitoring
E61 Tee, Mechanical Gauge,
Installation Tools
Robot Dedicated Tee, Mechanical Gauge,Installation Tools
M9 Tee, Mechanical Gauge
G1/8 Tee, Mechanical Gauge
If you have any questions, you are always welcome to contact us. We'll get back to you as soon as possible, within 24 hours on weekdays.
-
Shipping Information
Use this text to answer questions in as much detail as possible for your customers.
-
Customer Support
Use this text to answer questions in as much detail as possible for your customers.
-
FAQ’s
Use this text to answer questions in as much detail as possible for your customers.
-
Contact Us
Use this text to answer questions in as much detail as possible for your customers.
FAQs
Can I purchase the BOOKOO Tee separately without the pressure gauge?
- Currently, our website does not support purchasing the Tee separately. BOOKOO Tees are designed to be sold as a fixed kit with the pressure gauge.
- Due to threading compatibility, using the Tee with other coffee machines or third-party pressure gauges is not feasible.
- For further questions or assistance, please feel free to contact us.
Can I use the BK Tee or pressure gauge separately?
- Yes, but compatibility depends on your setup. Please make sure the thread size matches, the O-rings or seals are installed correctly, and any unused ports are properly sealed to prevent leaks.
- For safe setup details, please refer to this guide.
Can the BOOKOO Tee be used with non-BOOKOO pressure sensors?
- Yes, but only if the thread size matches. Third-party pressure sensors are not guaranteed to be compatible with the BOOKOO Tee.
- If you plan to use the BOOKOO Tee with a non-BOOKOO pressure sensor,
please follow the details carefully.
How do I install and adapt the BK Tee?
- Install the EM on the short side of the BK Tee marked “BK”.
- Before tightening, make sure the Tee is fully seated and the O-ring is correctly positioned.
- Do not remove the red O-rings, as they help seal the connection and prevent leaks.
- For compatibility, confirm the thread type of your machine or adapter, such as M6, M9, or G1/8.
- For detailed installation videos and compatibility guidance, please refer to the official guide.
What should I do if there is water leakage at the Tee connection?
- If water leaks from the Tee connection, stop using it first and check whether the Tee is fully seated, the O-ring is correctly positioned, and the red O-rings are still in place. Re-tighten gently, but do not over-tighten.
- If leakage continues, you can learn more about the sealing steps here.
How to fix a tilted pressure gauge after installation?
- A tilted gauge is usually caused by normal thread tolerance. Slightly loosen the gauge connection on the Tee, rotate the gauge until the 0-mark faces forward and looks level, then run a blind basket test to check for leaks.
- If minor leakage appears, apply PTFE tape to the threads and test again.
- For full adjustment steps, please follow the details.
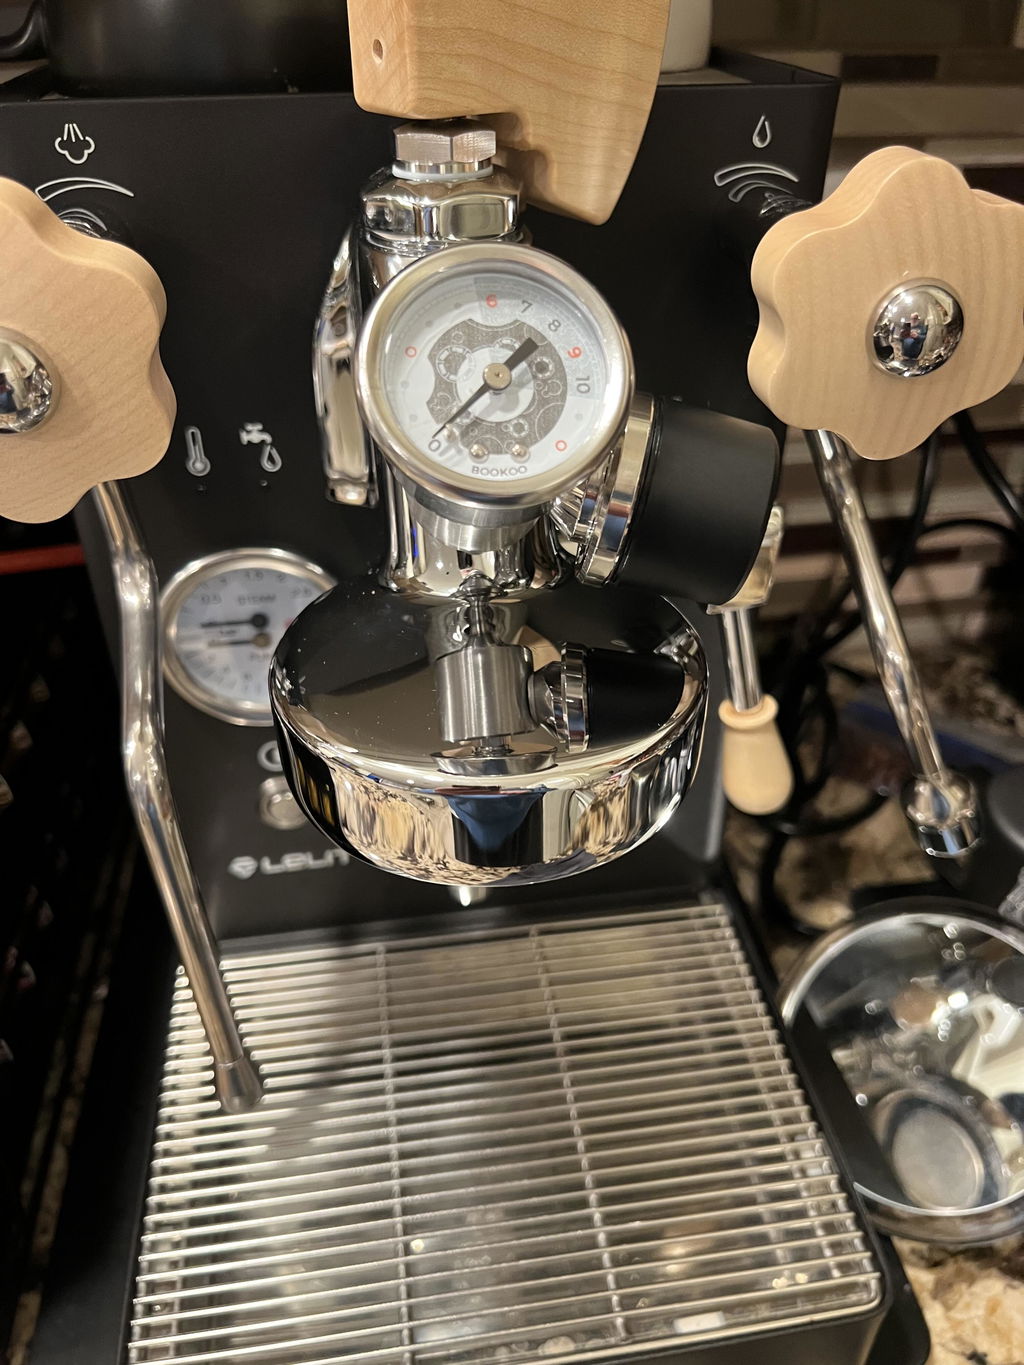
I what had the pressure monitor for my flair 58, so when I got an e61 machine I figured I'd use it there too. This allows it to work perfectly and still have a manual guage.
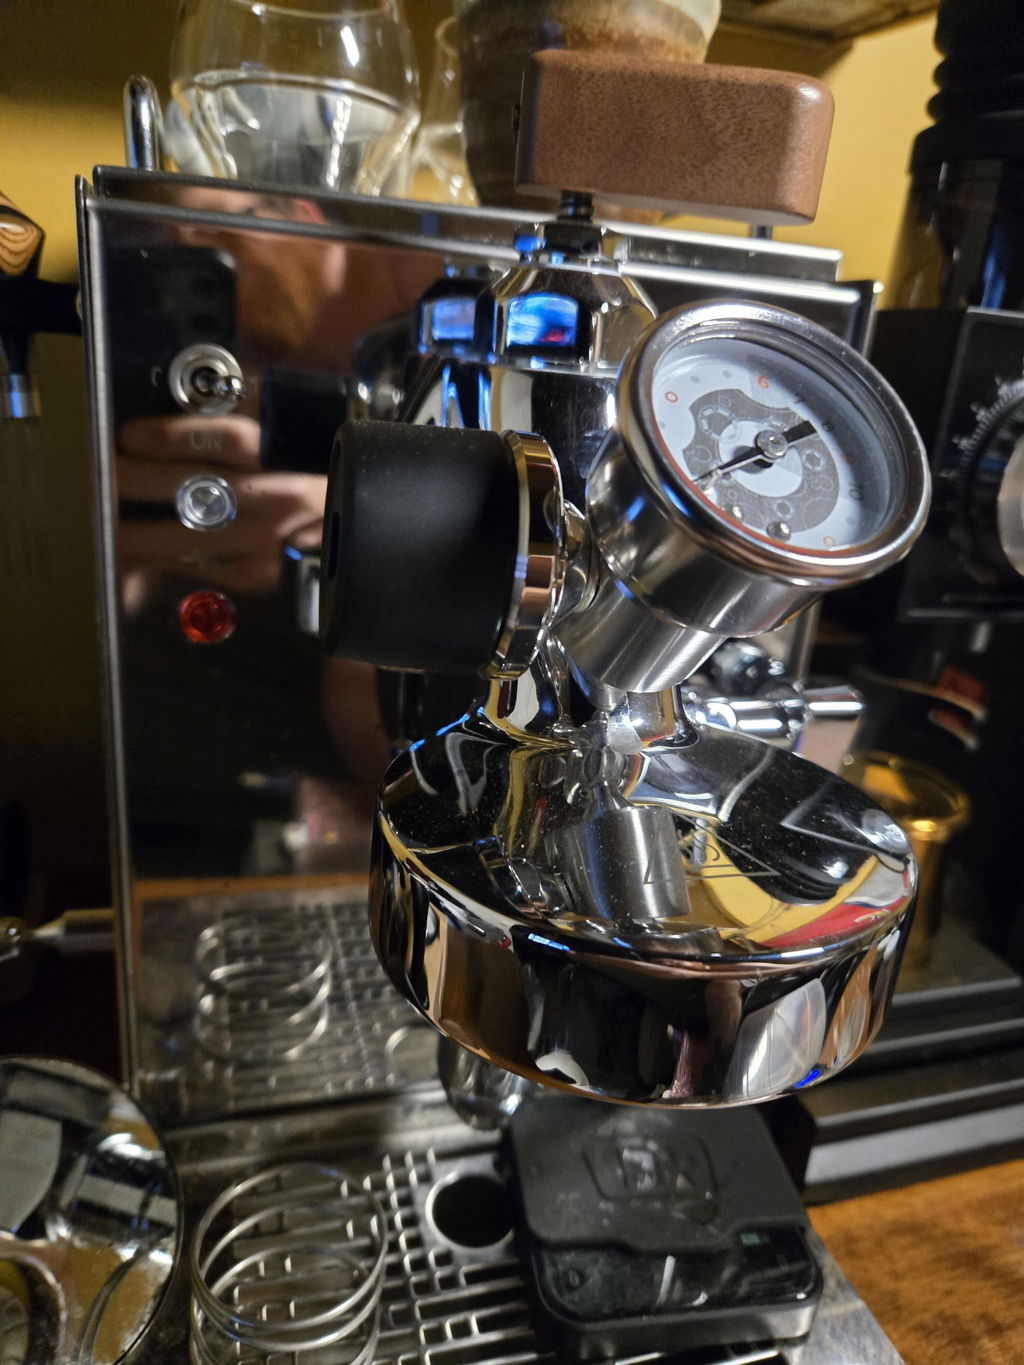
I already had the BooKoo scale and pressure monitor and this allowed me an analog visual of the pressure along with the digital. Works as advertised!
pending untill i get the tee adaptor
Gauge fits tee and tee fits my e61 group head perfectly. M6 for both outlet ports. Fits their gauge and espresso monitor very well. My only hope was that they had sent an m6 make to G1/8 adapter so that I could keep using my stock gauge.
Well built and works great with the Bluetooth sending unit
t’s a good product.
It’s very well made and easy to install.
And it’s great that they respond quickly to customer inquiries.
I’ll use it well.